In this Pixelmator 2 project, you will learn the basics of creating a movie banner in a style that might be used for a spy movie. You will use layer blending modes, text layers, and color manipulations, as well as other skills.
Credits for the idea behind this tutorial go to Pixelmator.com
Hello to all you photography fanatics out there! Today we are going to be learning how to make an old photo from a modern day photo by using Pixelmator 2.1 Cherry without breaking a sweat if you follow the simple rules ahead.
This week I’m going to do a request for a tutorial we got via our website, PixelmatorTutorials.net. I’m going to show you how you can create an inset text effect. Others might call this a letterpress effect. The effect you get from a letterpress printer. Big parts of this tutorial are based on a photoshop tutorial from Jacob Gube on sixrevisions.com
Although Pixelmator doesn’t have a set of automated layereffects tools, you can create a number of such effects using the tools you do have without too much difficulty. In this project you will create four effects: Drop Shadow, Outer Glow, Inner Glow, and Bevel and Emboss.
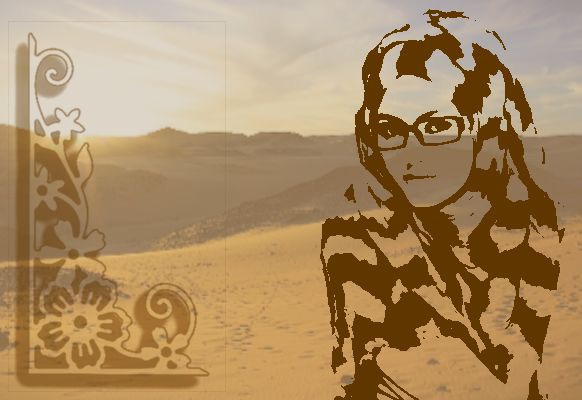
In this episode I’m going to show you how you can create this image in an image effect. As you see we have a portrait of a girl and the dark parts of the portrait are filled with another image. The darker the color the more of the other image we see.
The image used in this tutorial is made by Dee’lite and published under a creative commons license.